JUnit Testing for Back End Development
- John V Stoecker (Unlicensed)
In NetBeans, right click the file you are creating tests for. Under Tools=>Create Tests, a dialog should come up:
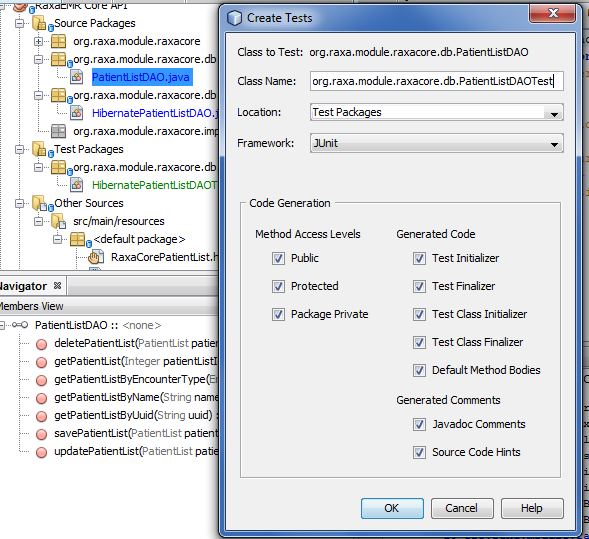
Give it a class name (the automatic one should be fine) and make sure the location is in Test Packages.
Rename each test function to say exactly what it tests, i.e. testSavePatientShouldUsePrivileges or testSavePatientShouldSavePatient
To add in data to be tested for a table, make sure to add a Test-inititalData.xml file into your src/test/resources:
<?xml version='1.0' encoding='UTF-8'?>
<dataset>
    <table_name_here first_column_name="value1" second_column_name="value2"/>
    <table_name_here first_column_name="value3" second_column_name="value4"/>
</dataset>
(NOTE: the src/test/resources folder should automatically come under the heading 'Other Test Resources' – if not, right click your project in Netbeans and choose Reload POM)
In addition, make sure your table mapping .hbm.xml file is defined in the test-hibernate.cfg.xml file:
<?xml version="1.0" encoding="utf-8"?>
<!DOCTYPE hibernate-configuration PUBLIC
    "-//Hibernate/Hibernate Configuration DTD 3.0//EN"
    ">

<hibernate-configuration>
    <session-factory>
        <mapping resource="TESTTABLEMAPPINGFILE.hbm.xml" />
        <mapping resource="ANOTHERMAPPINGFILE.hbm.xml" />
    </session-factory>
</hibernate-configuration>
(NOTE: test-hibernate.cfg.xml should also come in src/test/resources under 'Other Test Resources' – if not, create your own test-hibernate.cfg.xml)