Using JIRA for RAXA
With so many contributors working on the project, having one centralized location to track work will clarify who is working on what, where we are with every part of the project, and how to avoid work duplication. For this purpose we are using JIRA.
JIRA Tickets
A JIRA ticket describes a unit of work on the project. All work on RAXA should have a JIRA ticket associated to it. This includes:
- Writing code for a module
- Writing a one time script to fix data
- Designing UI components
- Designing module architecture
- Planning the build out of a new module or module feature
- etc.
As a general rule of thumb, a JIRA ticket should take between 30 minutes and several hours
Lifecycle of a JIRA ticket
At all times, a JIRA ticket has a current status. The statuses of a ticket, in chronological order, are the following:
- Needs Assessment: The ticket has been entered and is being verified by the module coordinators
- Ready For Work: The ticket has been verified and is ready to be worked on
- In Progress: The ticket is being worked on.
- Code Review (Initial): Code to resolve the ticket has been committed, but not merged. It is now being reviewed.
- Code Review (Post-Commit): Code to resolve the ticket has been reviewed, accepted, and merged. The final merge is now being reviewed.
- Closed: The final merge is has been accepted. The ticket is closed
In addition, after steps 4, 5, or 6, a ticket may be sent into a Reopenned status by a reviewer.
Before you begin
The steps below will set up your default dashboard (home page) to work more easily on the RAXA project.
- Log into JIRA. (Go to and log in on the upper right hand side with your user ID)
- Click the small arrow to the right of "Dashboards" on the upper left hand side and click on "Manage Dashboards"
- Recommend using the "Developer" or "UI/UX" Dashboard and click to favorite this dashboard (shows a star).
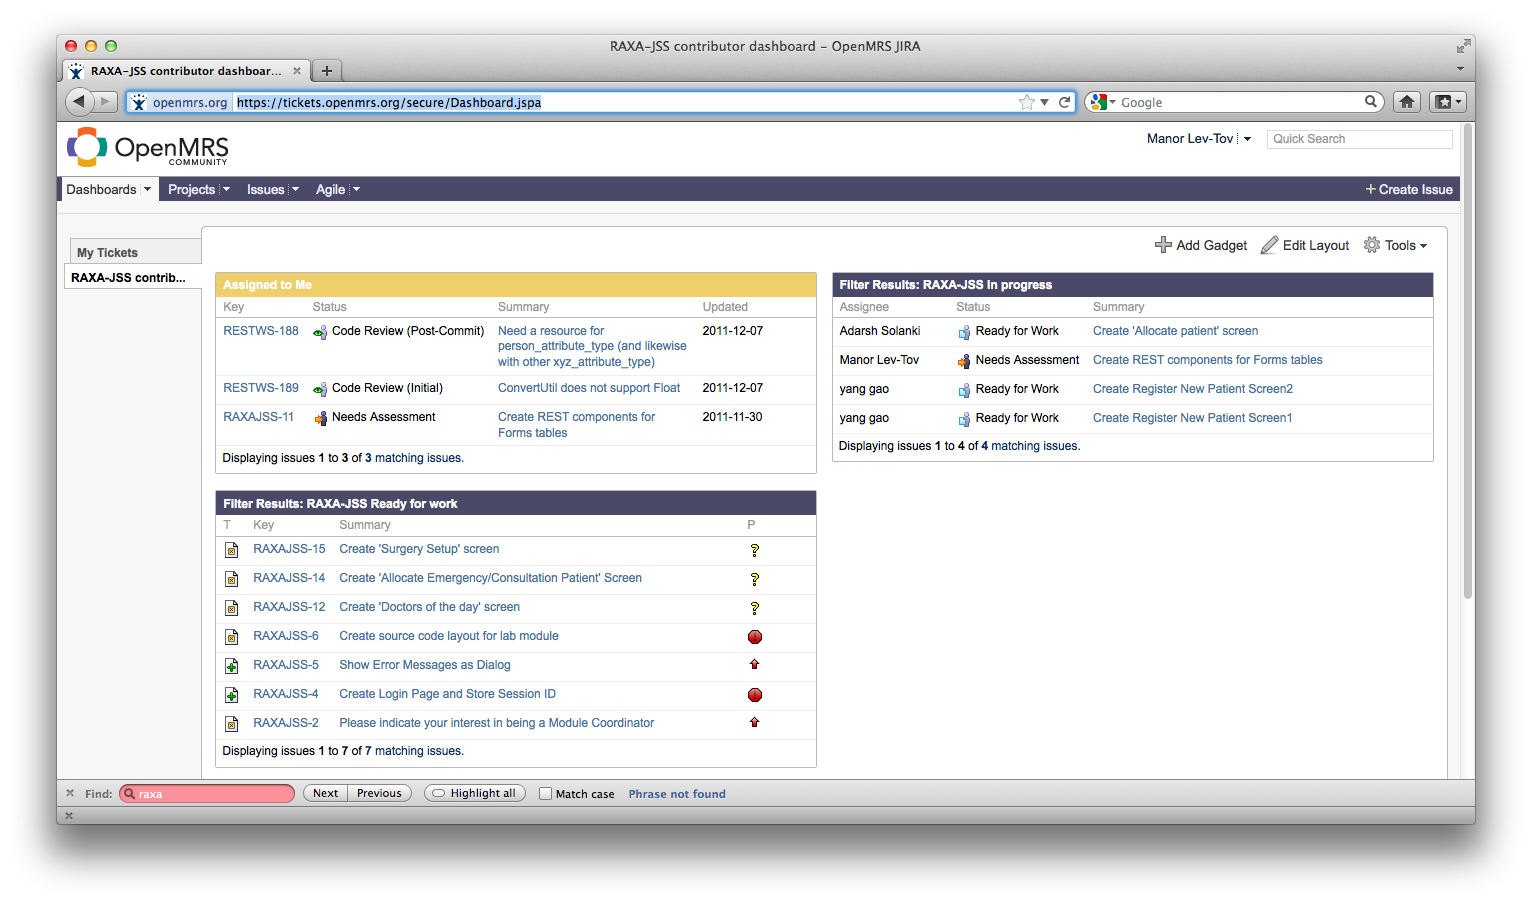
- Now when you log into JIRA, your home page should look something like this (picture is out-of-date):
How to create a JIRA ticket
Log into JIRA and click the link for "Create Issue" on the upper right hand side. Then, on the drop down, set the project to RAXA JSS EMR, and the issue type appropriately as follows:
- Bug: A problem that needs to be fixed in existing code
- New Feature: A new feature that needs to be added to existing Code
- Task: A task, such as "Plan x", "design y", "script out z", etc.
This will open the new issue screen. On this screen, please fill out at least the following:
- Summary: A summary of the ticket in a few words
- Description: A description of the work to be done and why. This will be read and possibly worked on by someone else, so please be as clear and descriptive as possible. If the issue is a bug, include clear steps to reproduce. The more information the better.
- Components: Which component (module) does the issue relate to?
- Severity(for bugs): This will help determine priority of the issue.
- Screen shot(when appropriate): Screenshots are often very helpful in clarifying the issue, such as error pop ups, or missing or faulty GUI components.
Also useful is label(s), when tickets should be grouped.
Sub-Tasks:
Some issues are large and need to be split up into multiple tasks/features. For example, a "New Feature" ticket that requires new tables may have four Sub-Tasks associated - "Create the necessary tables", "Create the DAO components", "Create the REST components", and "Create the GUI page" To create sub-tasks for an issue, click "More Actions" at the top of the issue's ticket page.
Working on a JIRA ticket
From the dashboard, choose a ticket to work in the "Assigned to Me" gadget. If there are no tickets assigned to you that you can work on, choose a new ticket from gadget below ("Filter Results: RAXA-JSS Ready For Work")
On the page of the ticket you selected, click "Claim Issue" to change the status to "In Progress"
If the ticket is requires a code change, be sure to commit and push your changes often.
After work is complete on a ticket
When you are finished working on a ticket, click "Request Code Review" on the ticket page. In the comments, be sure to include a short description of how the ticket was resolved, as well as the GitHub checkin ID, which can be obtained from your Git client or the GitHub website.
From Git...
Whenever committing code, mention the ticket in the commit message - So if you are working on RAXAJSS-38, the commit message would look like e.g. "RAXAJSS-38 - Controller loads up the view". After the commit, you will receive a commit id e.g. https://github.com/Raxa/Raxa-JSS/commit/dd33a040ddbf4d9ee0c9aa8adc0dd2c4a1d972aa is id for the last one I committed. Add this id as a comment to the ticket on which you are working.
